 |
|
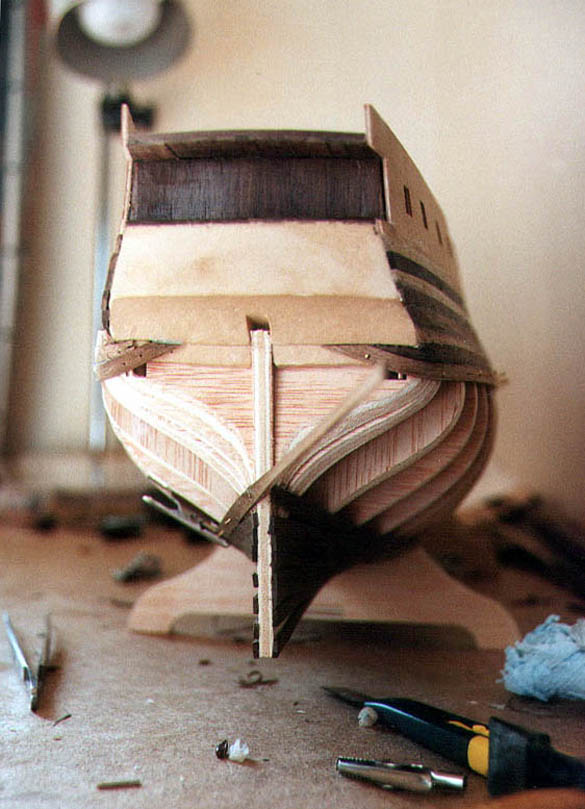
Pic 9: I like this shot - I call it 'The Shipyard'. We've started the hull planking now - the first stage where people fall by the wayside. See how variable the colour of the walnut is! Again, I scouted ahead, realised that the upper portions of planking would be covered by secondary planking, and so used up the most ghastly strips of walnut there. Hopefully your kit will be better graded than mine was.
How to plank: If you just take a strip of walnut, put glue on the formers and then try to nail the plank into position, you will fail absolutely and catastrophically. The walnut will not bend that much without snapping, and even if it does, no modelling pin will ever hold it. Everyone has their preferred method of planking, but in my opinion there is no substitute for steaming. For some reason I was very reluctant about using steam - then I got to a point on the Cutty Sark where every other bending trick I could think of failed. So as a last resort I got the kettle going, and bingo - 4 x 2mm mahogany into a 7cm diameter semicircle in a few seconds! (If steam can catapult an F-14 off an aircraft carrier, think what it can do for your model!)
I use an ordinary domestic electric jug-type kettle, and the most effective place to hold the wood is just above the spout as it boils hard. Decide exactly where you need to apply a curve or twist, then hold that part of the plank in the 'hot spot' (the gap between the spout and the visible vapour) while applying appropriate force from the ends. Keep your fingers away from the steam - it will scald if you get too close. After a few seconds you'll be amazed what happens to seemingly brittle wood! Then take it away from the steam and hold the tension while blowing on the wood to cool it.
For shallow curves you can run the plank back and forth through the steam and so apply the curve over several inches. I found that the darker the walnut, the more responsive it was. With practice and patience, you can put in quite remarkable curves and twists. Yes, you will snap some, but that's how you find the limits. For sharper curves, don't try to put all the curvature in one go - take two or three bites at it. Many of the planks need a twist too, up to 90° in some cases. The secret is to let the steaming do the work. Try to get the plank as well-fitting as you can by steam power - then the stress and strain is less, and nailing and fixing is much easier. Don't forget to glue the edges of each plank too - it makes the structure much stronger and prevents any warping later.
I've never found the need for 'keel clamps' or similar devices. To add planks, I just place the hull on my lap, at whichever angle I need to, and this also helps to dissipate the minor shocks of pinning.
Note: If you need to put a curve at the very end of a plank (eg in the picture above), allow a couple of inches extra to act as a 'handle', steam in the curve as required, then cut the excess off.
NB: Since writing this for the first time, I bought a new kettle and found that the spout doesn't concentrate the steam sufficiently to do the job. If you find this too, try making a small conical aluminium funnel to sit in or on the spout and give you a stronger flow of steam. It might also be possible to make a conical lid for a saucepan, make a small hole at the top, and use that as a steam source (though I haven't tried this).
![]()
![]()